
In this guide we will walk you through how to manage your VPS OpenClaw, connect your AI model, and approve your device for pairing. You need to ensure you have credits with your respective AI provider (OpenAI, Anthropic etc).
Connecting Your AI Model to VPS OpenClaw
Log into your VPS via SSH
First, you need to log into your VPS via SSH or via Console. Once you have logged in, start by typing sudo su to elevate yourself to the root. Once you have done that type openclaw configure --section models as shown on the image below
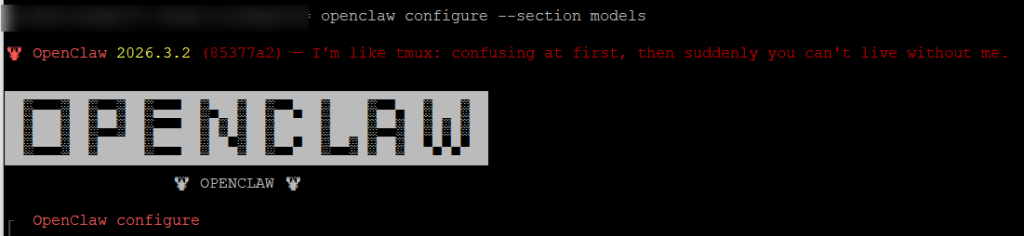
Select your Options for OpenClaw
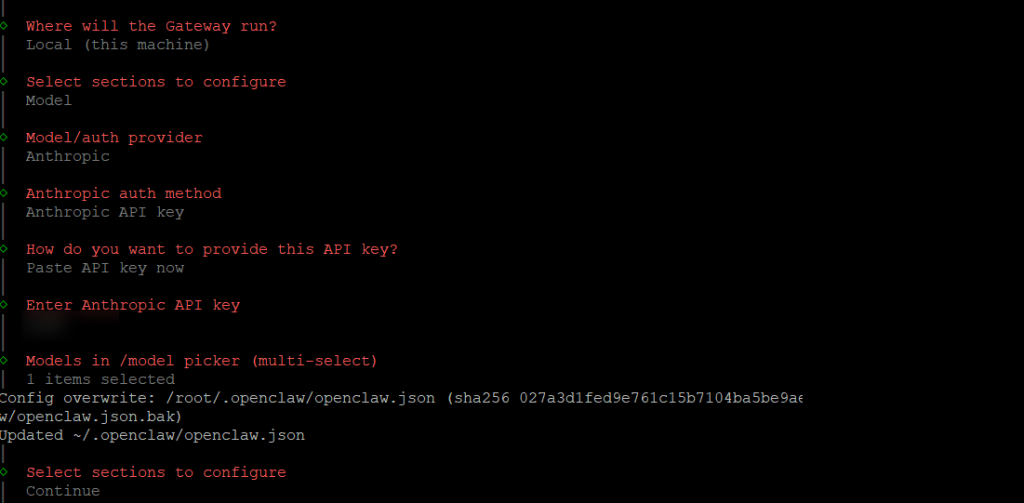
Next, We will select the model we would like to use, in this example I will be connecting the OpenClaw to my API at Anthropic, you may have OpenAI or a different one, during the Model/Auth Provideryou can select a variety of providers to work with. You follow the image below.
Note: You access your OpenClaw at https://<yourhostname> as provided in your welcome email, not via IP:port.
If you want to change the hostname for your OpenClaw see below for guide on how to do that.
Pairing and Approval of Device Via OpenClaw
Pairing Required
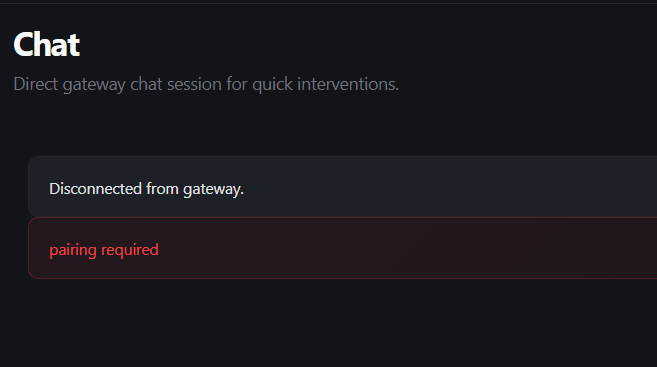
Next, you want to access your openclaw via browser by going to https://<yourhostname> which will return a screen like below, stating that pairing is required. This is a protection set by OpenClaw to prevent unauthorized system use.
Approve your device
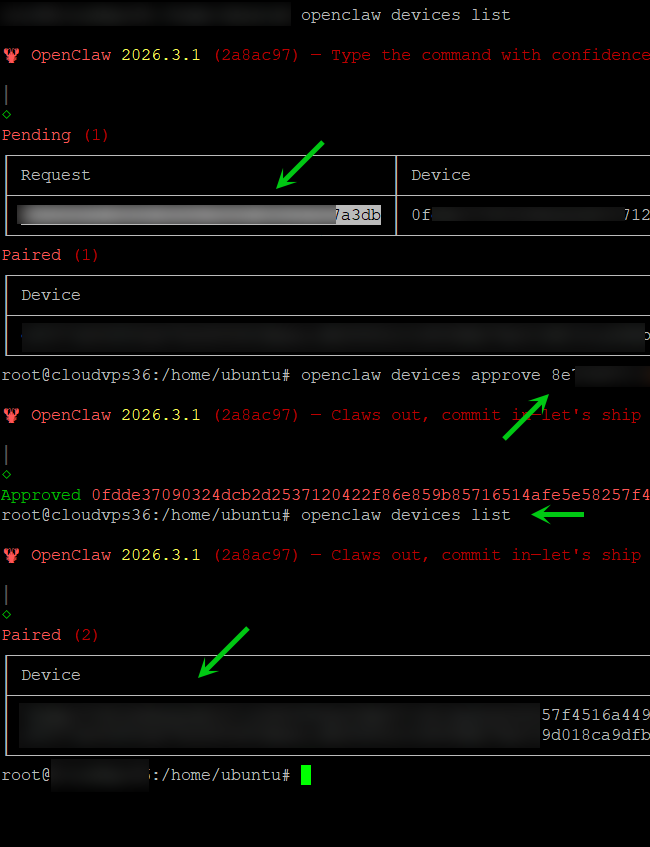
Next, you want to approve your device, to do that you go to your SSH and type in openclaw devices list to list all pending requests, you should see a new request because you went to the dashboard via browser which created the request. You then type openclaw devices approve <id> to approve your device. You can see by typing openclaw devices list to see that your request went form Pending to Paired.
Dashboard Finale
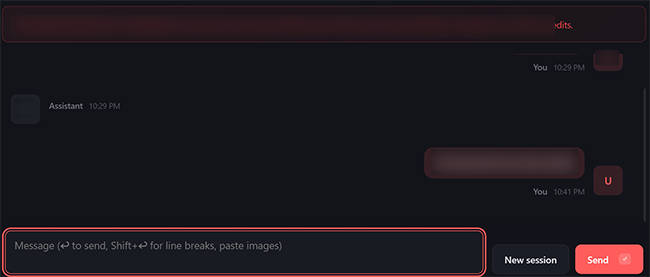
Finally, now that you have paired your device and you have setup your model that you have credits with, you can start working with your OpenClaw.
Change Your VPS OpenClaw Hostname
Edit Caddy and OpenClaw and Reboot
To change the hostname from the default which is cloudvps<id>.packetra.com, you need to open yoursudo nano /etc/caddy/Caddyfile and edit the hostname there to the desired hostname that you have already setup and is responding to ping.
Once you have done so, you need to add the given hostname to the allowedOrigins in OpenClaw by entering the command below:openclaw config set gateway.controlUi.allowedOrigins "[\"https://yourdomain.com\"]"
Followed by a service restartsudo systemctl restart openclaw
sudo systemctl restart caddy
Now, you can goto your new hostname at https://<yourhostname> instead of the default https://cloudvps<id>.packetra.com
VPS OpenClaw Onboard Mode – Skills, Hooks & Recovery
Going through Onboard Completely
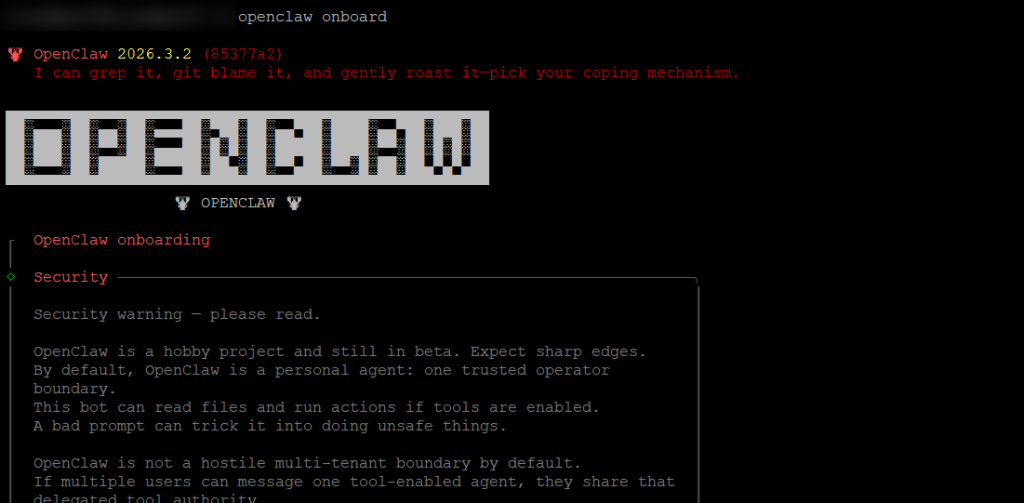
You can run openclaw onboard under sudo su (root) to go through the entire setup process, this allows you to add hooks, enable plugins etc. However, one of its default behaviors is resetting the gateway/port/auth which will break the OpenClaw dashboard.
Recovery
When you have finished your onboarding, you need to enter the following commands in order to fix the gateway issue and auth issue that presents itself on your dashboard after an onboarding.
Enter the following commands to set the gateway and unset the token authorizationopenclaw config set gateway.mode local
openclaw config set gateway.port 4050
openclaw config set gateway.bind loopback
openclaw config set gateway.auth.mode none
openclaw config unset gateway.auth.token
We then want to ensure we set the allowed origins back to your domain, please note yourdomain.com should be either the default server hostname on delivery or a hostname you may have setup yourself.openclaw config set gateway.controlUi.allowedOrigins "[\"https://yourdomain.com\"]"
Then we want to restart the twosudo systemctl restart openclaw
sudo systemctl restart caddy
This should resolve the Dashboard once you have onboarded API, installed skills / enabled skills or anything else.