You can manage your VPS backup and restore process easily through the Packetra client portal. In this guide, we will walk you through how to view your available VPS backup files and how to restore your VPS from a backup.
This article is only applicable to those who have an account with Packetra and it assumes that you are already logged into the portal. Don’t have a VPS yet? Check out our CloudVPS Plans. If you already have one feel free to login to follow the guide below
Navigate to your VPS Backup Service
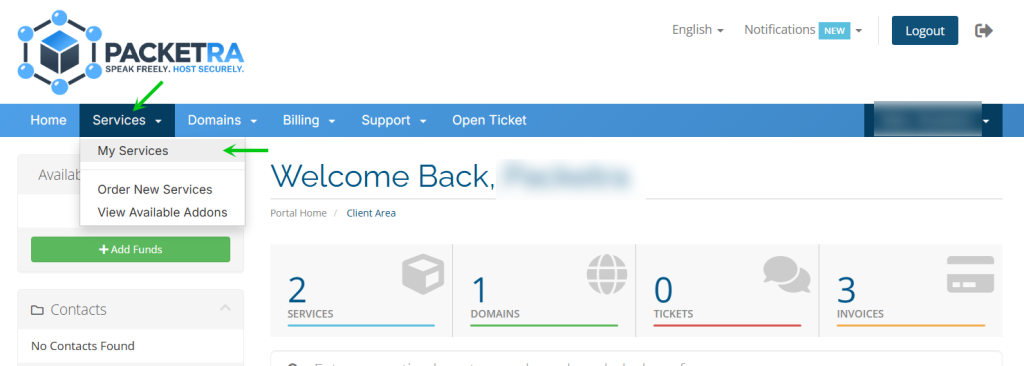
First, click the Services tab in the top navigation, then select My Services from the dropdown menu.
Select the VPS to Restore
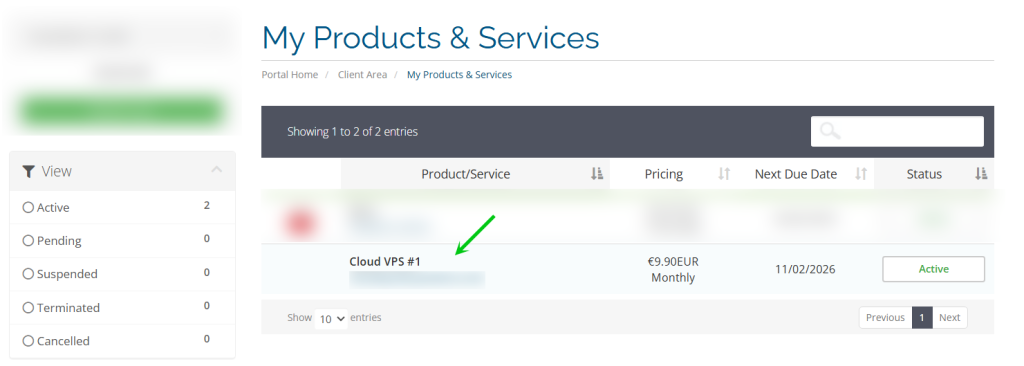
Next, find the active VPS you want to restore in My Products & Services. Click on it to open the service details page.
View Your Backup Collection
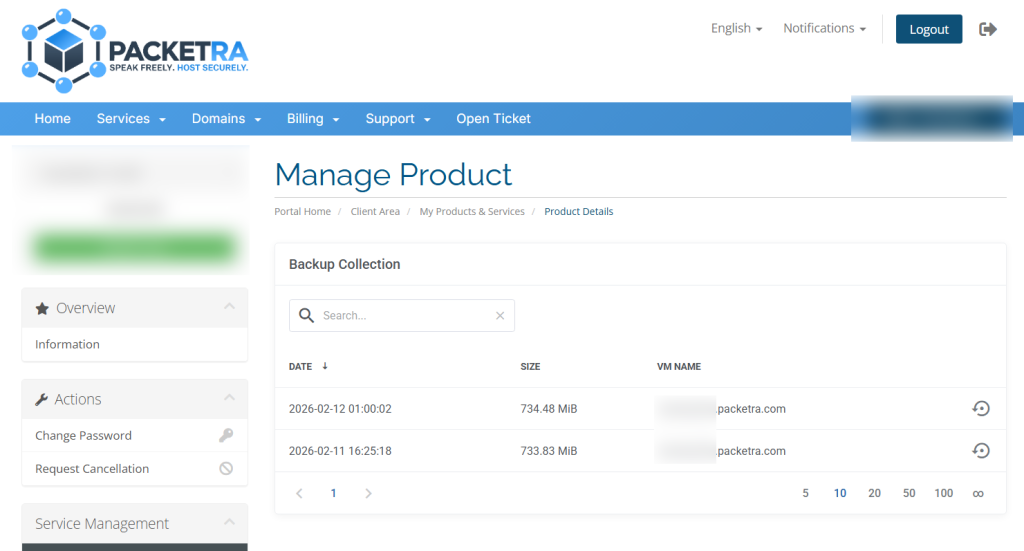
Next, click the Backup Collection button on the left side panel. This will display all available VPS backup files you can restore from.
Restore Your VPS Backup
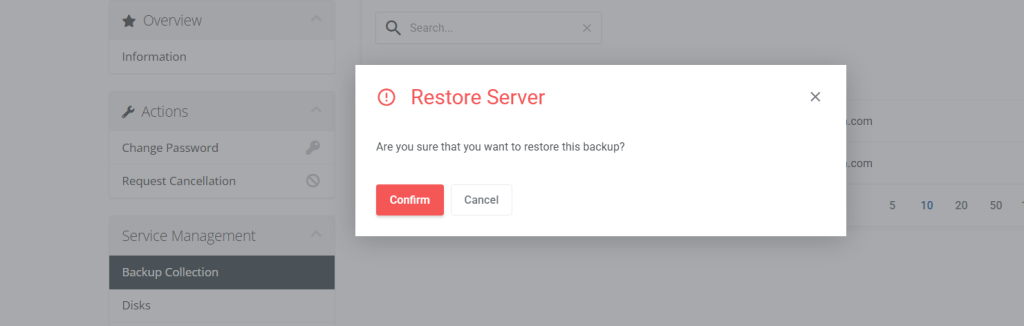
Finally, click the Restore icon (the circular arrow icon) next to your chosen backup file. A final confirmation dialog will appear before the restore begins. Click Confirm to start the restoration.
Once you click Confirm the restoration will be performed.
Frequently Asked Questions
Will a restore wipe my current data? Not exactly. The restore replaces your server with the backup version. As a result, any data created after that backup date will be lost. Always check the backup date before restoring.
Can a backup restore fix a hacked server? For example, restoring to a backup from before the hack will give you a clean server. However, you still need to find and fix the vulnerability that allowed the breach in the first place.
Good to Know Your VPS backup restore action goes into a queue once you confirm it. The restore typically completes within 5-10 minutes. Your IP address stays the same after a restore. If you have any issues with your service, open a support ticket through the client portal and our team will assist you.