
A .user.ini file lets you override PHP settings for your site without editing the server configuration. This guide walks you through creating one in your public_html directory and adding common PHP directives on your Packetra hosting.
Find the System Info & Files Section
First, open the System Info & Files dropdown in the Control Panel navigation. Select the File Manager button.
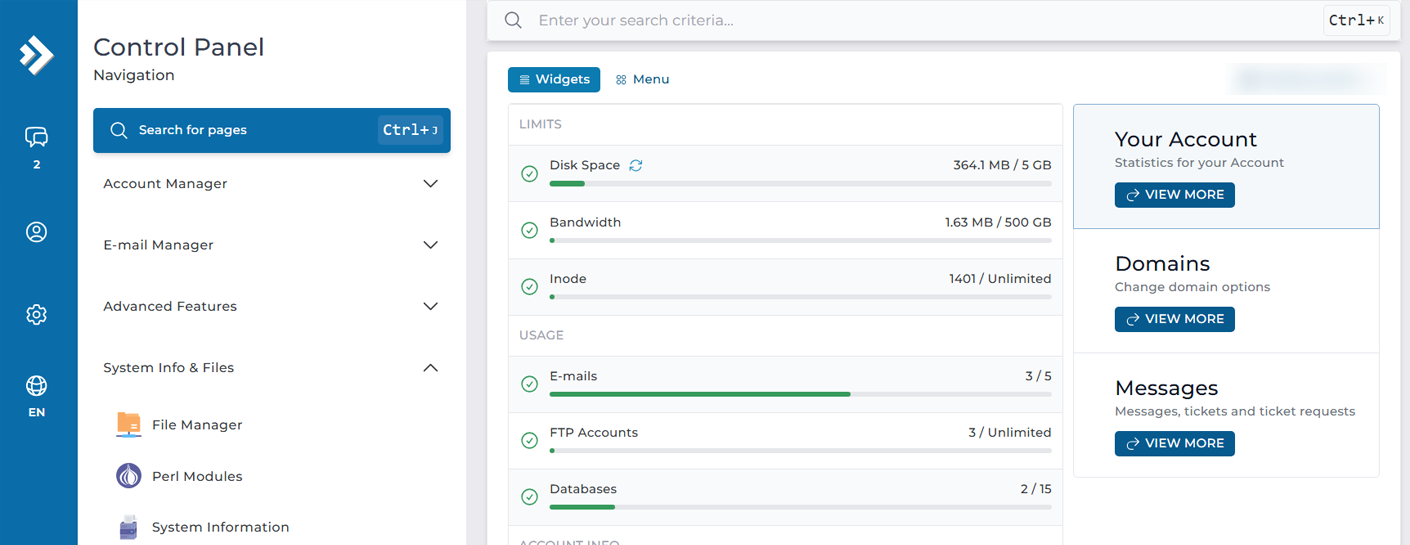
FileManager Opens
You will be redirected to your DirectAdmin File Manager, this is where you manage files for your domain/s.
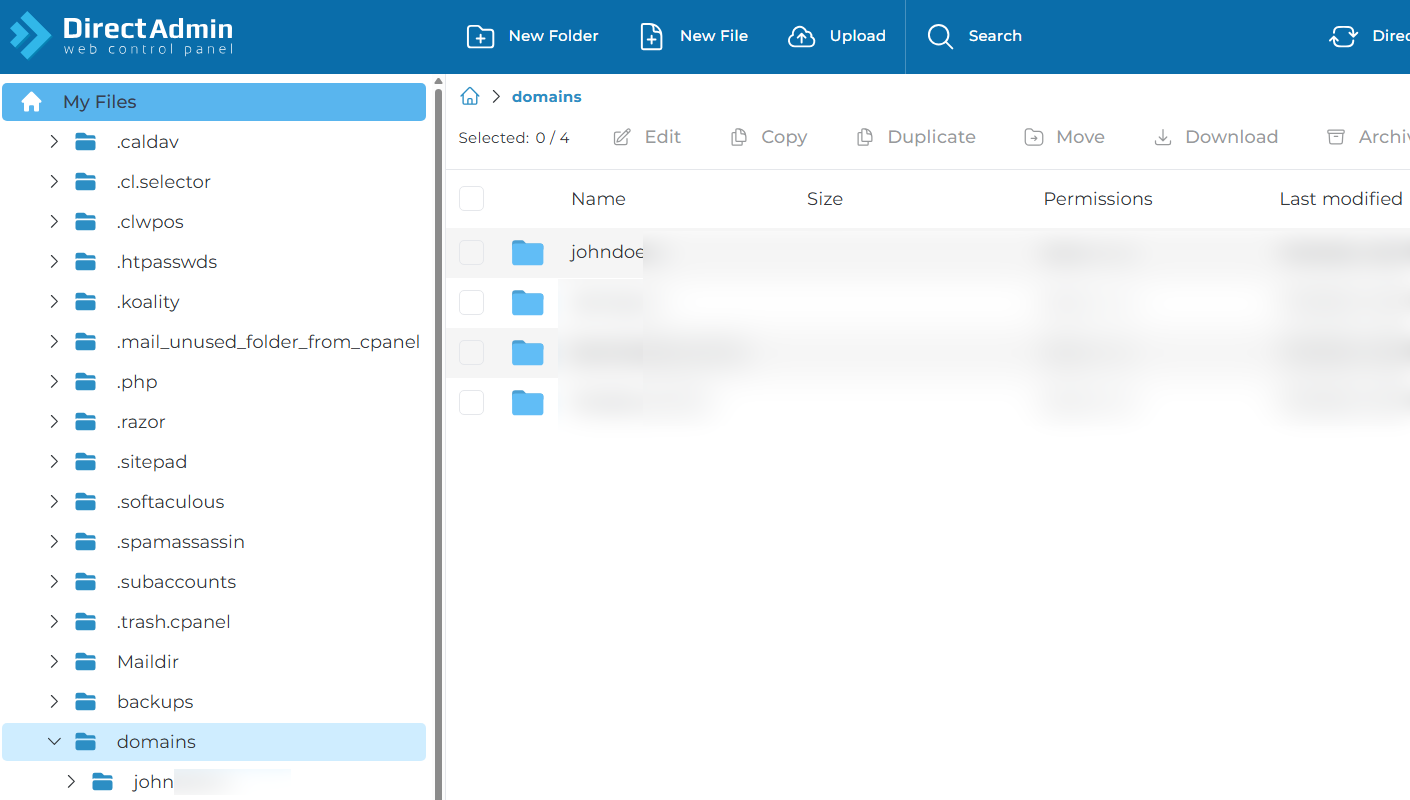
Locate your Public_HTML Directory
Traverse by selecting domains > [your domain] > public_html on the left panel. This is where your website files live, and where a .user.ini placed here will apply to the whole site.
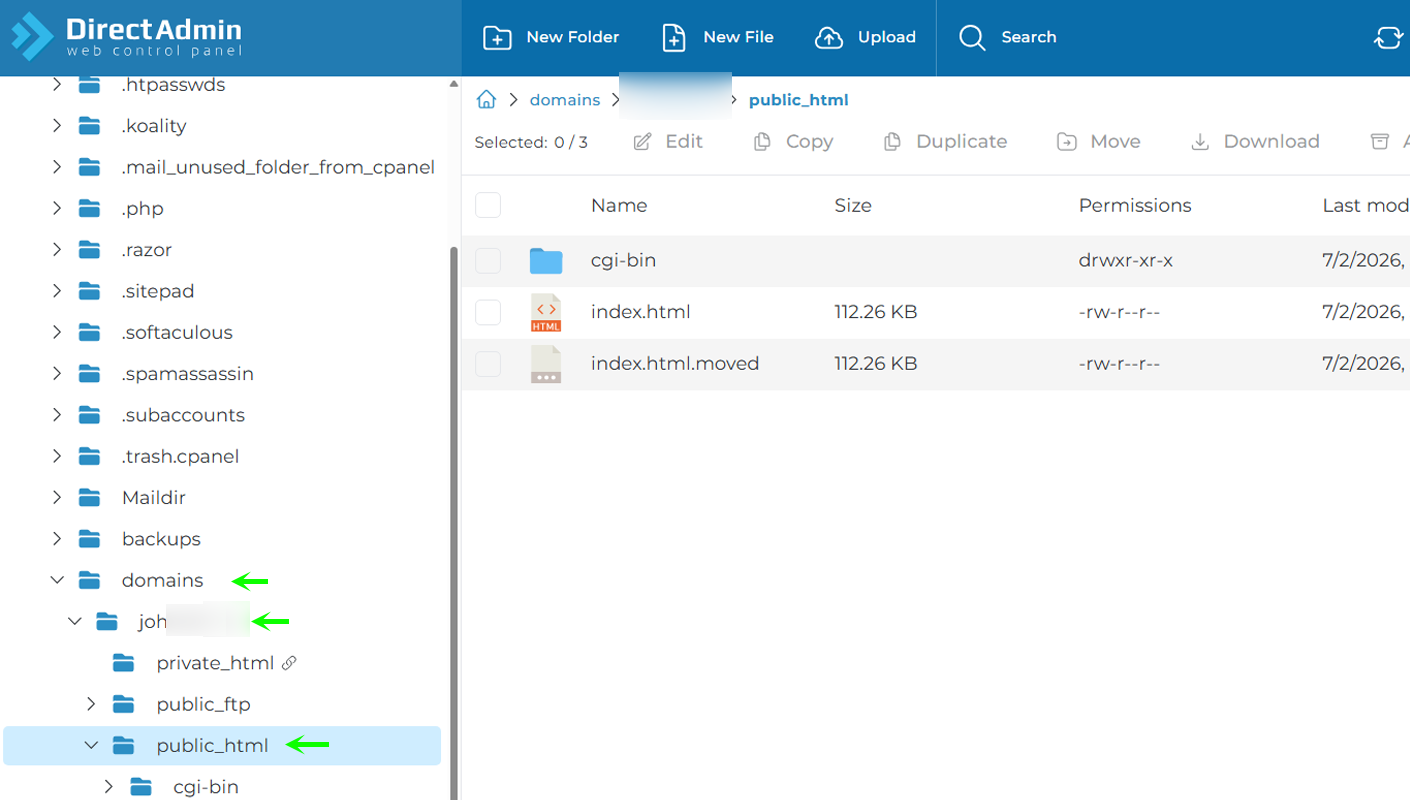
Create the .user.ini File
From the blue top panel, click New File. Name it .user.ini (note the leading dot) and confirm. The new file will appear in your public_html directory.

Add Your PHP Directives
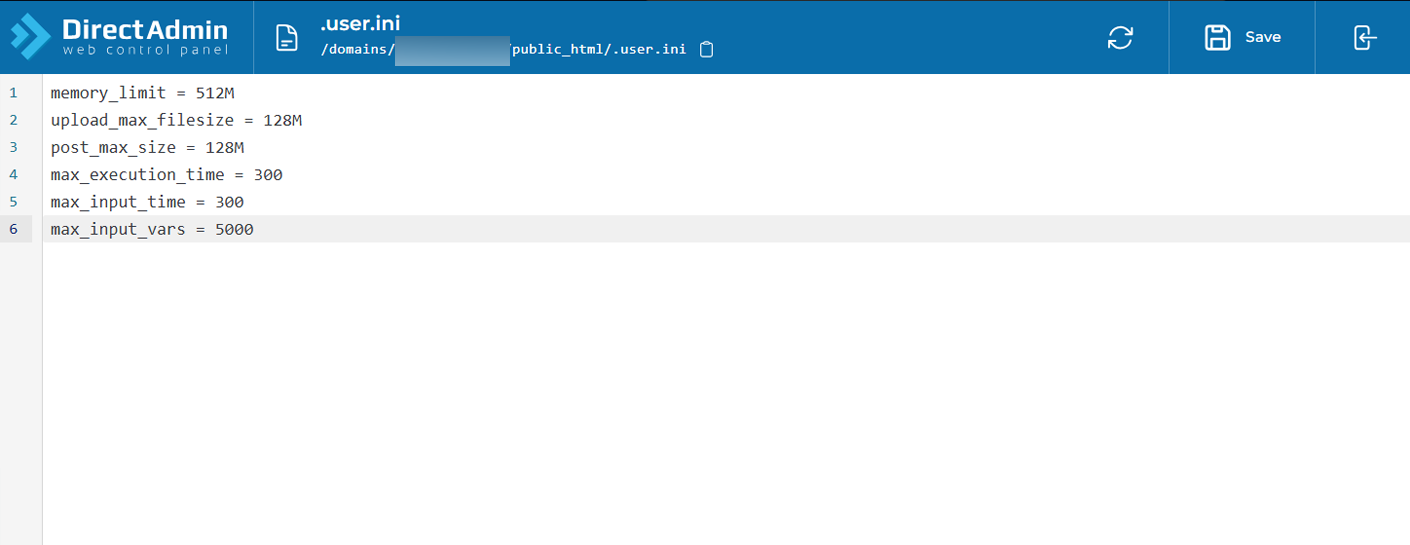
Select the .user.ini file and open it in the editor. Add the settings you want to change, one per line. For example:
memory_limit = 512M
upload_max_filesize = 128M
post_max_size = 128M
max_execution_time = 300
max_input_time = 300
max_input_vars = 5000
Save the file. Your changes take effect within a few minutes. PHP caches .user.ini files (300 seconds by default), so there may be a short delay before the new values are live.
Check Your Configuration with phpinfo (Optional)
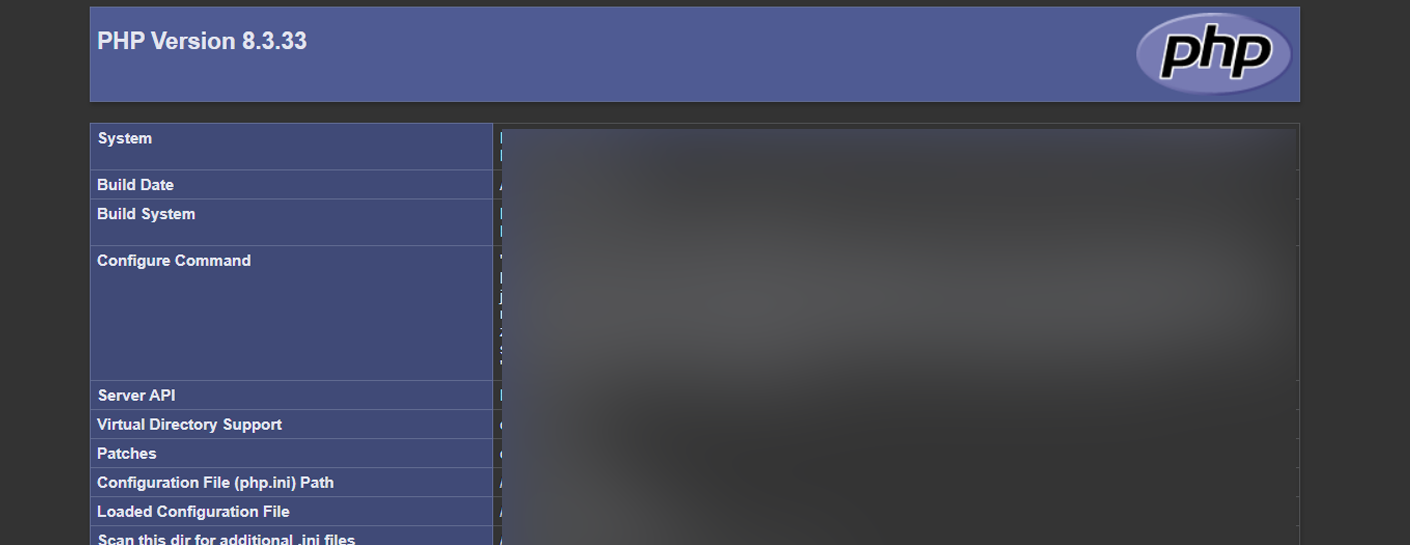
To confirm your changes applied, create a file named phpinfo.php in public_html and add the following line:
<?php phpinfo(); ?>Now visit [yourdomain.tld]/phpinfo.php in your browser to see your full active PHP configuration, including the values you just set. Delete this file once you are finished, as it exposes server details that should not be left public.
That is it, you now know how to manage your PHP settings with a .user.ini file.