Your Dedicated Server includes full IPMI / KVM access, so you can install or reinstall an operating system yourself, straight from the browser. In this guide we will walk you through mounting an install ISO and booting into it from the live console, no physical access required.
Open the Live Console
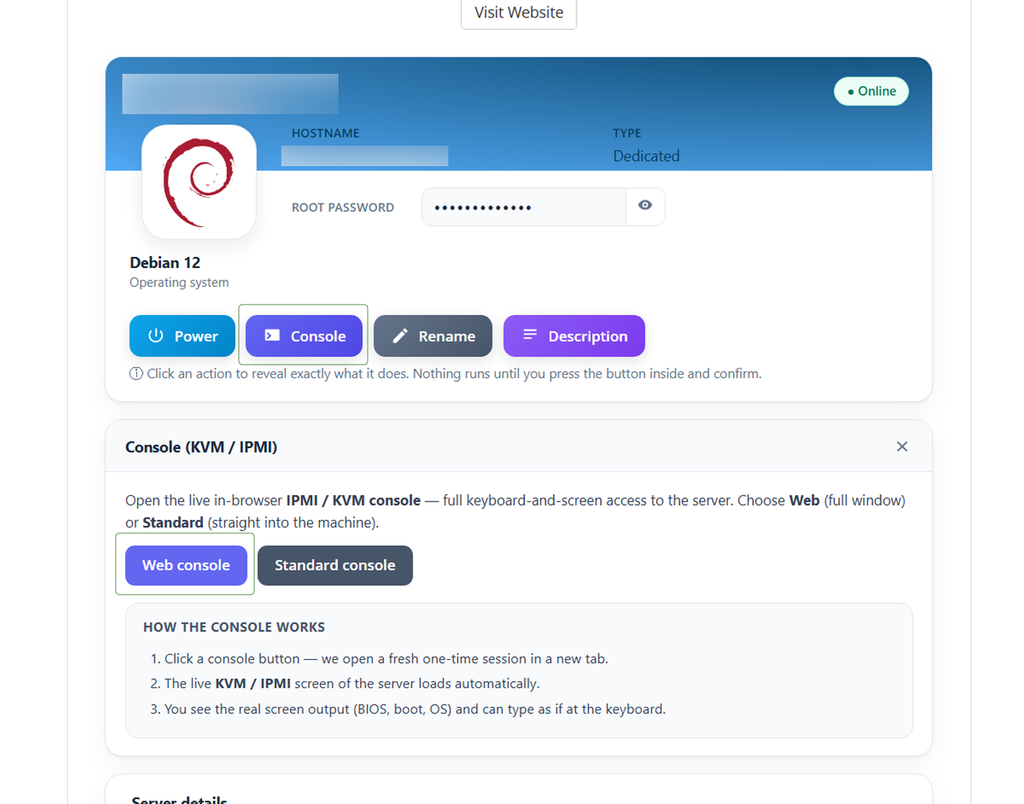
In your client area, open your Dedicated Server service, click the Console button and then Web Console. A fresh one-time session opens in a new tab and loads the server’s live KVM / IPMI screen.
If you are not sure how to reach your service, our Managing Your Dedicated Server guide covers the client area controls in detail.
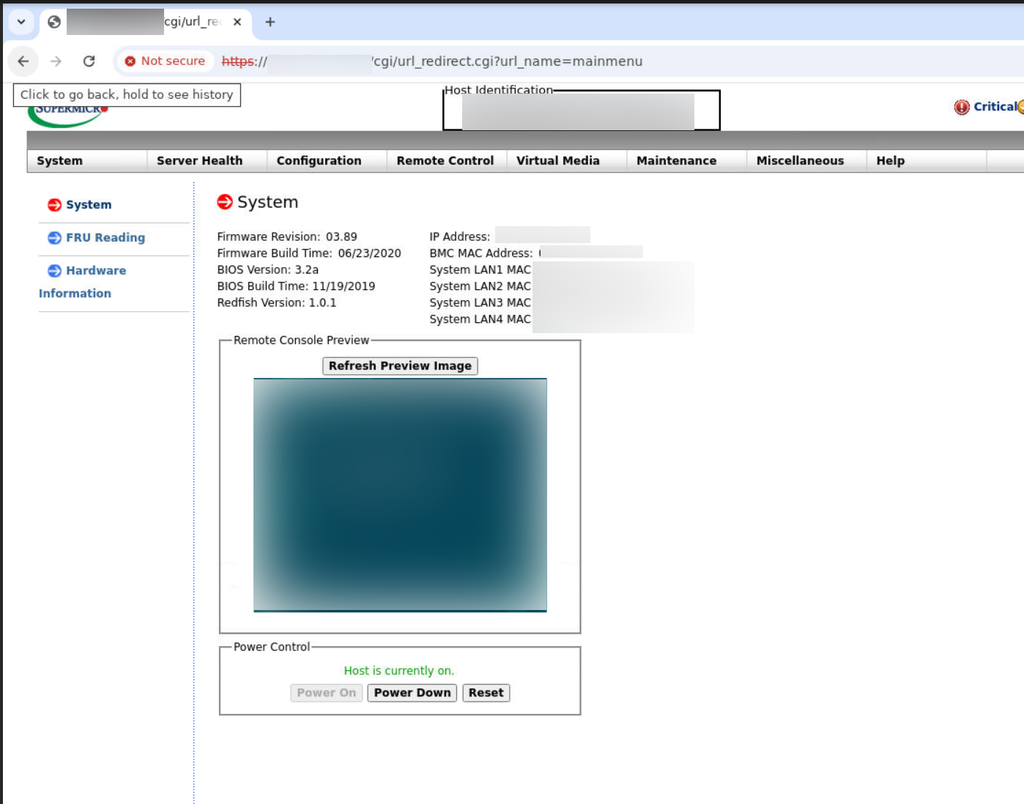
Once you click the Web Console you will see an image like below
Mount the Install ISO
In the IPMI window, go to Virtual Media > CD-ROM Image. The Share Host field is already filled in for you, leave it exactly as it is.
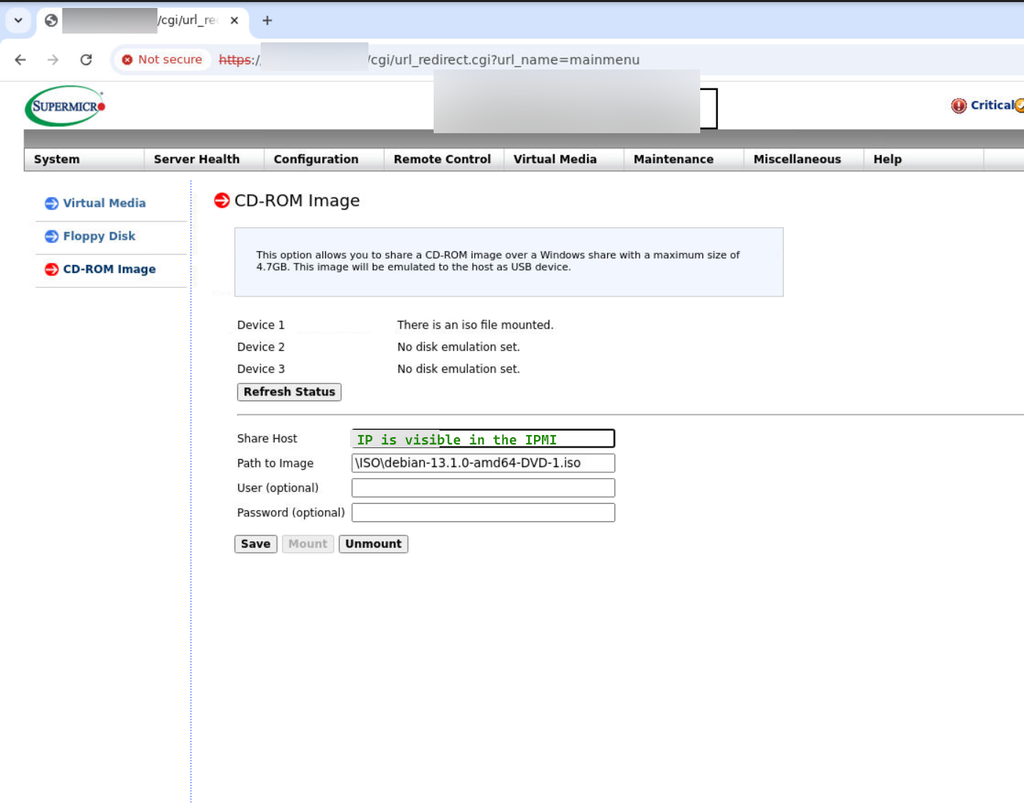
In the Path to Image field, enter the path to the operating system you want to install. The following images are available:
- /ISO/archlinux-2024.12.01-x86_64.iso
- /ISO/AlmaLinux-8-latest-x86_64-minimal.iso
- /ISO/AlmaLinux-9-latest-x86_64-minimal.iso
- /ISO/AlmaLinux-10.1-x86_64-dvd.iso
- /ISO/debian-10.6.0-amd64-DVD-1.iso
- /ISO/debian-11.0.0-amd64-DVD-1.iso
- /ISO/debian-12.2.0-amd64-DVD-1.iso
- /ISO/debian-13.1.0-amd64-DVD-1.iso
- /ISO/FreeBSD-15.1-RELEASE-amd64-dvd1.iso
- /ISO/openSUSE-Tumbleweed-DVD-x86_64-Current.iso ( This is OpenSuSE 15.6 )
- /ISO/Rocky-x86_64-dvd.iso ( This is Rocky Linux 8 )
- /ISO/Rocky-10.2-x86_64-minimal.iso
- /ISO/ubuntu-22.04.4-live-server-amd64.iso
- /ISO/ubuntu-24.04-live-server-amd64.iso
- /ISO/proxmox-ve_7.4-1.iso
- /ISO/proxmox-ve_8.2-2.iso
- /ISO/proxmox-ve_9.1-1.iso
- /ISO/VMware-VMvisor-Installer-7.0U3g-20328353.x86_64.iso
- /ISO/VMware-VMvisor-Installer-8.0U2-22380479.x86_64.iso
- /ISO/Server_2019.iso
- /ISO/Server-2025.iso
- /ISO/Windows_22.iso
Click Unmount first to clear any previous image, then click Save and Mount. Confirm the image is attached by checking that Device 1 reads “There is an iso file mounted.” You can press Refresh Status to update the display.
Reboot Into the Boot Menu
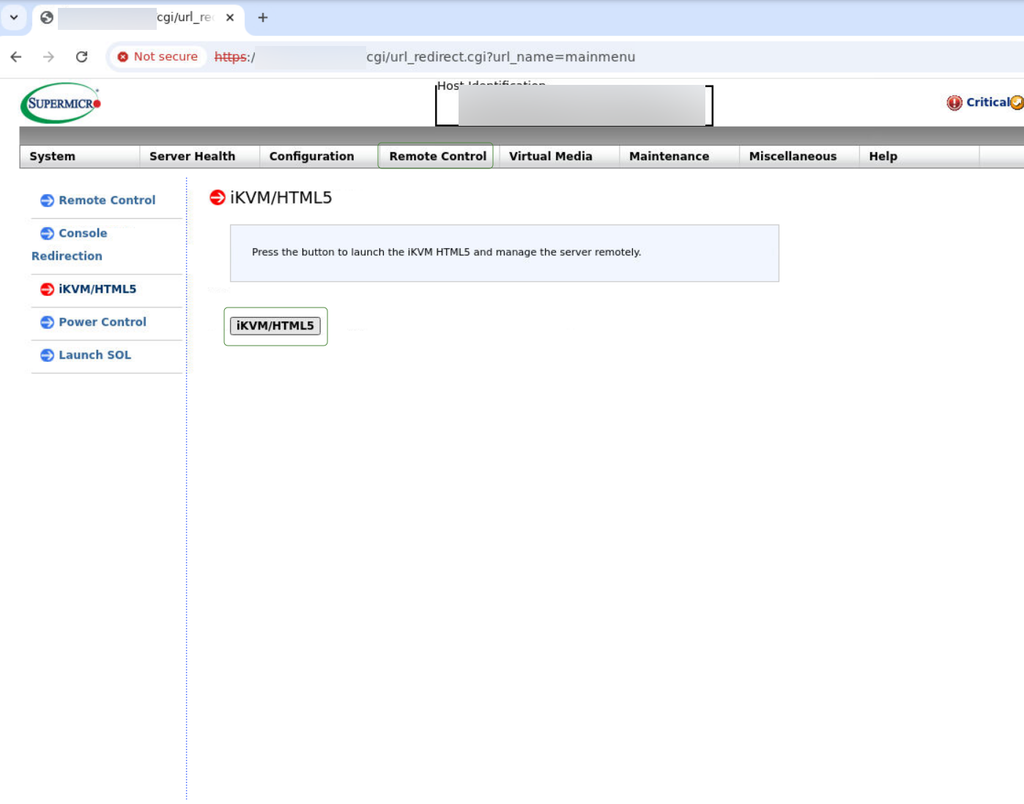
Go to Remote Control > iKVM/HTML5 and click the iKVM/HTML5 button to open the live screen. Then reboot the server, either from within the running operating system or using the power controls in your client area.
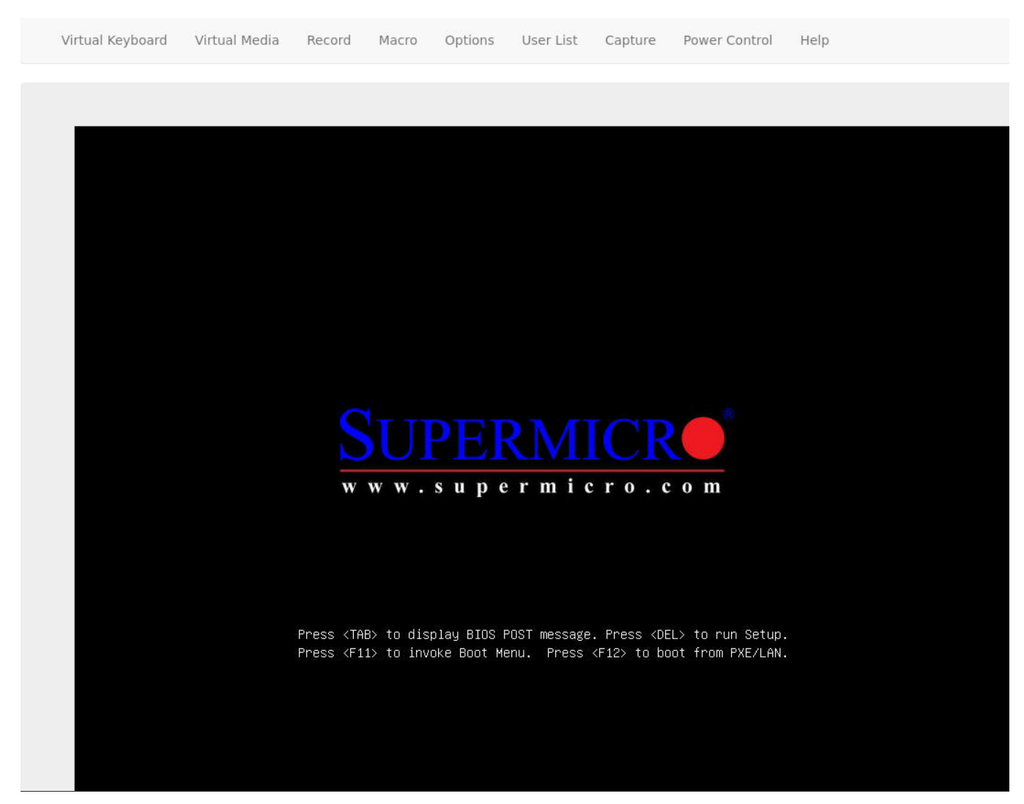
Watch the console. When the Supermicro boot screen appears, press F11 to invoke the Boot Menu.
Boot From the Mounted ISO
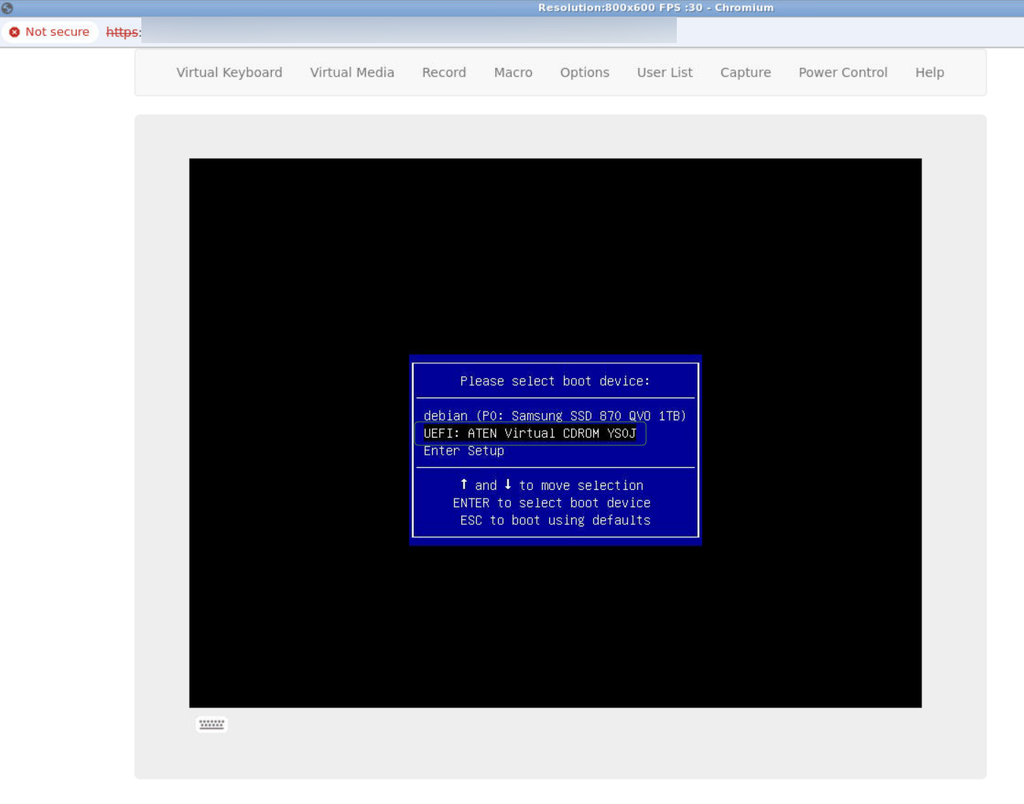
In the boot device list, select UEFI: ATEN Virtual CDROM. This is the ISO you mounted in the previous step. Use the arrow keys to highlight it and press Enter.
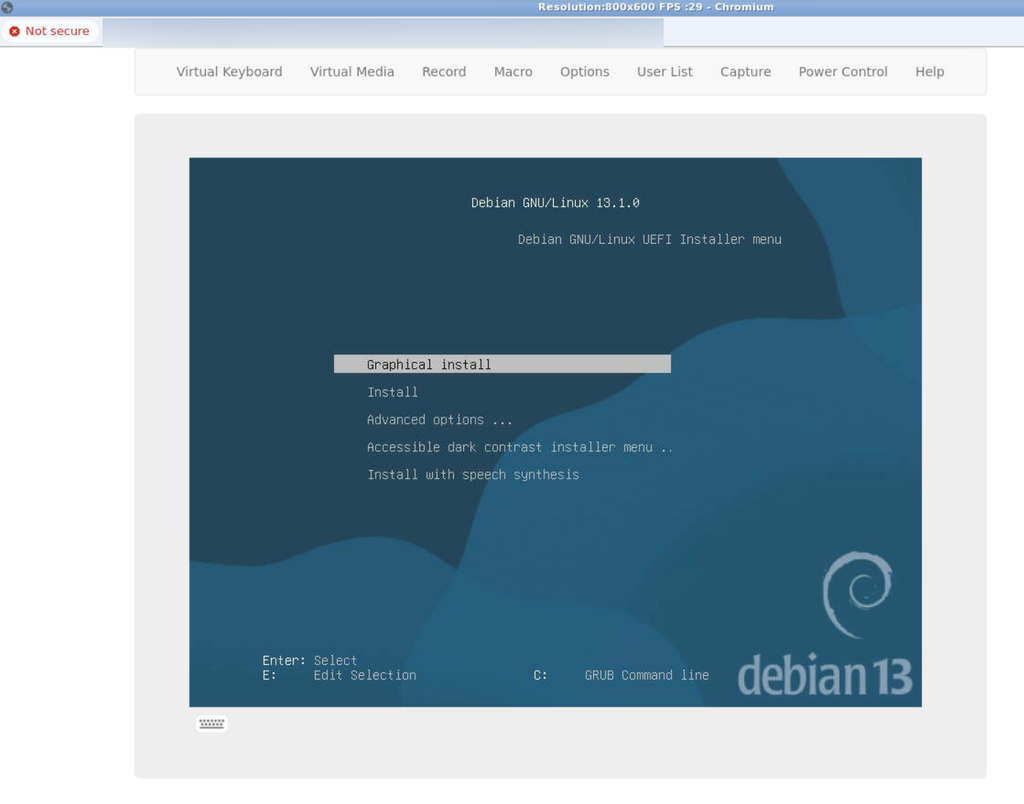
The installer for your chosen operating system loads, and you can begin setup as if you were sitting at the machine.
Your Network Configuration
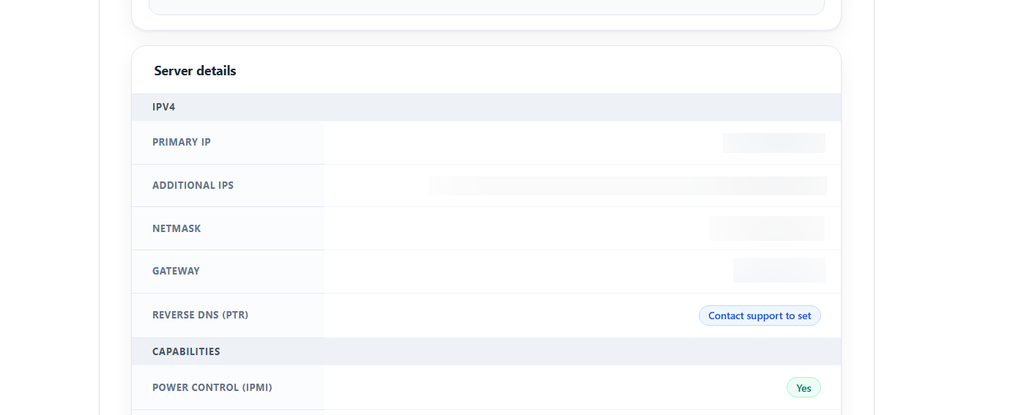
Some installers will ask you to configure networking by hand. Everything you need is on your server’s product page in the client area, under Server details. There you will find your Primary IP and any Additional IPs, along with the Netmask and Gateway for your server. Keep this page open alongside the console so you can enter these values when the installer asks for them.