
You can manage your Dedicated Server directly from the Packetra client portal. In this guide, we will walk you through the power controls, live console, hostname renaming and server details so you can manage your machine in just a few clicks.
Navigate to Your Dedicated Server
First click the Services tab in the top navigation, then select My Services from the dropdown menu.
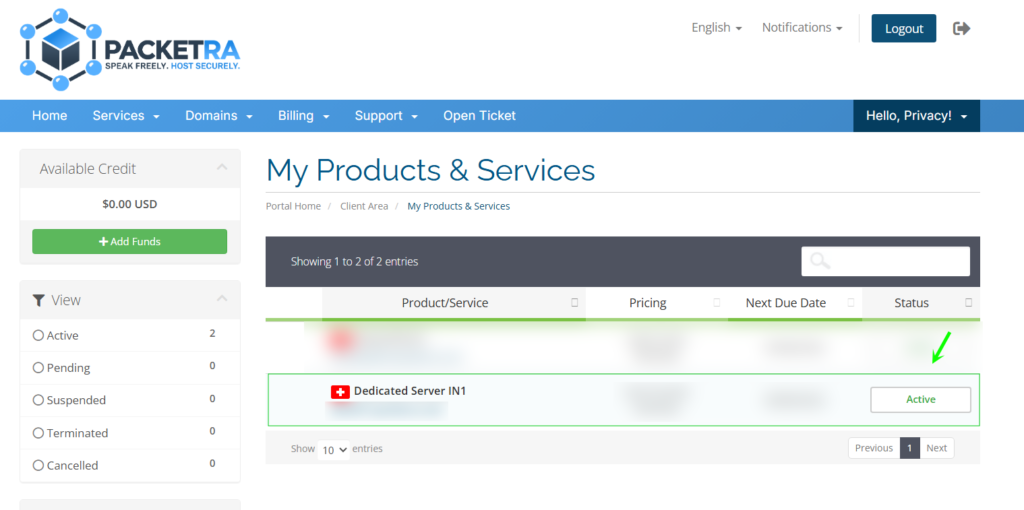
Find the active dedicated server you want to manage and click on it to open the service details page.
At the top of the page you will see your server’s hostname, current status, operating system and root password. Below that are four action buttons: Power, Console, Rename and Description. Each button reveals its own panel when clicked, and nothing runs until you press the button inside that panel and confirm.
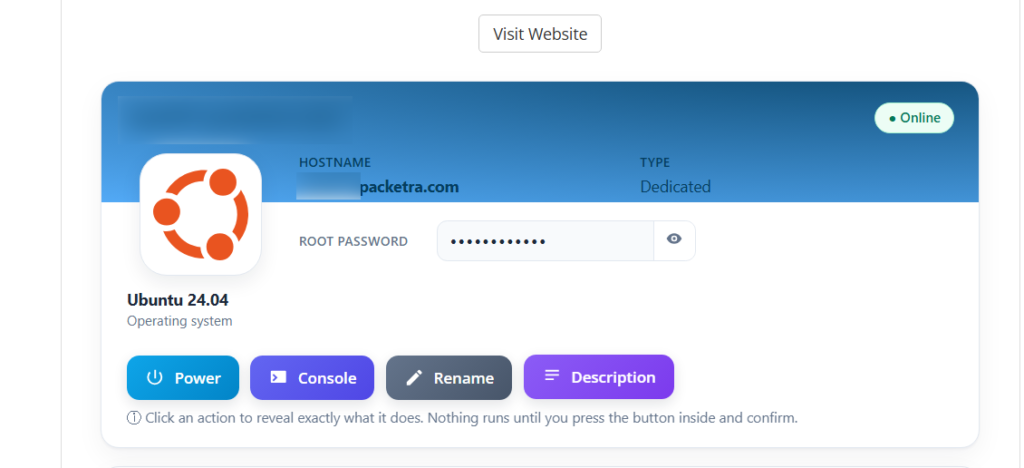
Power Controls
Click the Power button to control your server via IPMI. Choose an action from the dropdown and click Execute to run it.
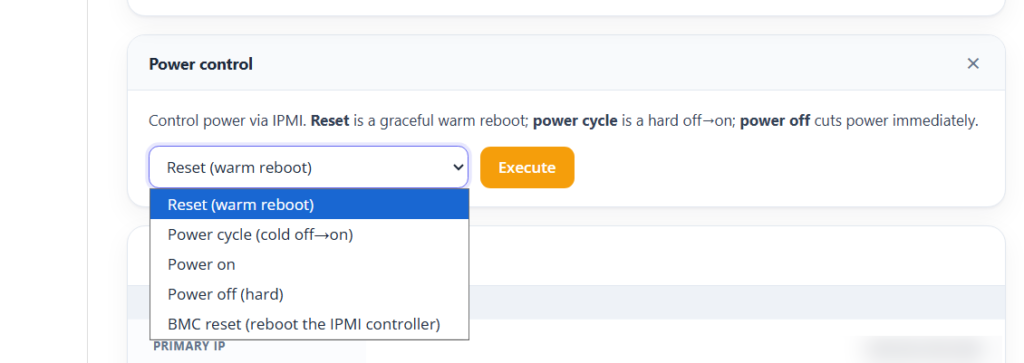
- Reset (warm reboot) – Gracefully restarts the server (useful after configuration changes)
- Power cycle (cold off→on) – Fully powers the server off and then back on
- Power on – Powers on a server that is currently off
- Power off (hard) – Cuts power to the server immediately
- BMC reset (reboot the IPMI controller) – Reboots the IPMI controller itself, without affecting the running server
Live Console (KVM / IPMI)
Click the Console button to open the live in-browser IPMI / KVM console. This gives you full keyboard-and-screen access to the server, even when the operating system is down or mid-install.
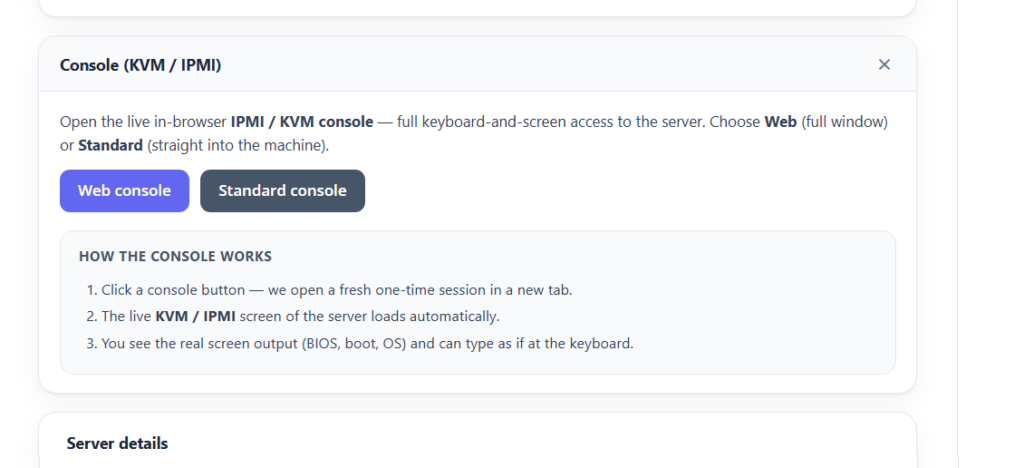
To use it, click Web Console / Standard Console and a fresh one-time session opens in a new tab. The live KVM / IPMI screen of the server loads automatically, and you will see the real screen output (BIOS, boot and OS) and can type as if you were at the keyboard.
Rename Hostname
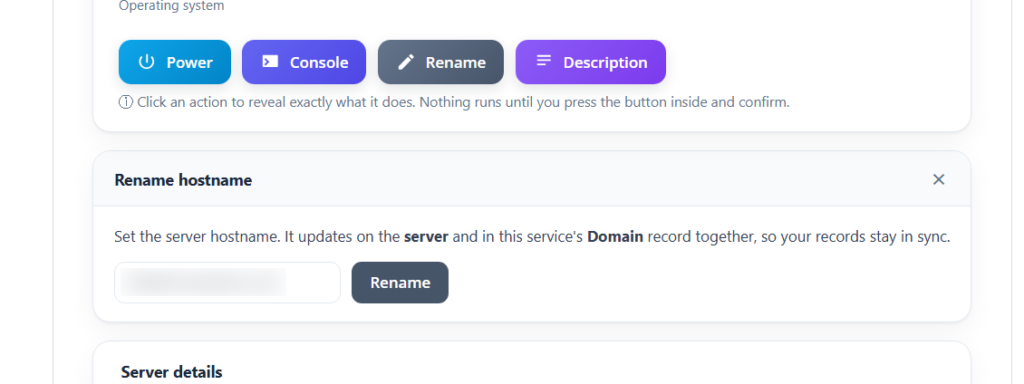
Click the Rename button to set the server hostname. Enter the new hostname and click Rename. This updates the name on the server and in this service’s Domain record together, so your records stay in sync.
Short Description
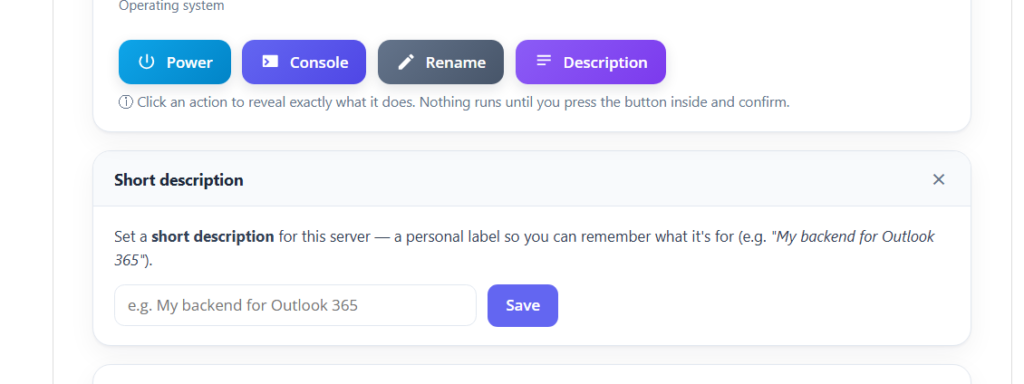
Click the Description button to set a short description for the server. This is a personal label so you can remember what the machine is for (for example, “My backend for Outlook 365”). Type your label and click Save.
Server Details
Scroll down to the Server details section to view your server’s full network configuration and capabilities. This includes your IPv4 primary and additional IPs, netmask and gateway, your IPv6 subnet, address and gateway, and your reverse DNS (PTR) status.
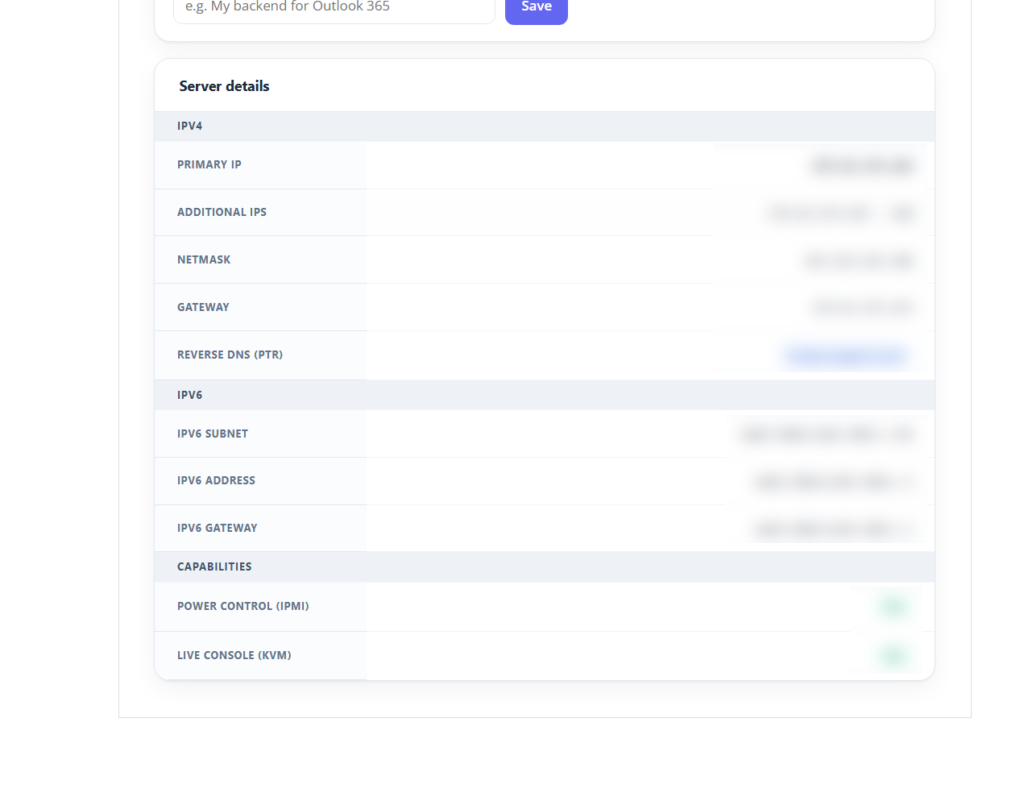
Under Capabilities you can confirm whether Power Control (IPMI) and Live Console (KVM) are available on your server. To set your reverse DNS (PTR) record, you need to contact support but the response is swift.